4.4.2 Using the Tile Editor
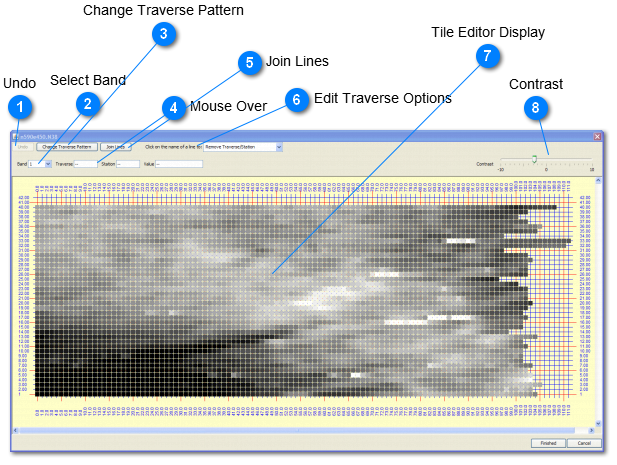
The Tile Editor is used to modify individual tiles, including stretching, shortening, or truncating traverses, changing the traverse pattern, and joining lines. Individual readings can also be edited. It is designed with editing Geonics EM38 files, but can be used for any tile. It automatically appears for each EM tile that is imported, but must be opened from the Survey Tool Edit Menu for other tiles.
When finished editing a tile, click Finished.
 Undo
Click Undo to "undo" edits made in the Tile Editor.
|
 Select Band
Select a Band for display.
|
 Change Traverse Pattern
Use this button to switch between zig-zag and unidirectional traverse pattern. This is a nice option if the wrong traverse pattern was entered in the Load File dialog. A file's metadata is corrected to reflect this change. |
 Mouse Over
When you move the mouse cursor over the main window, the traverse number, station number, and value for each sample/pixel is shown in these three boxes.
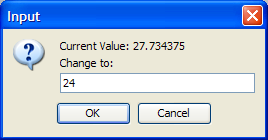
To edit a value, click on that cell and enter a new value in the input box as shown below:
In some cases NaN ("dummy" data or "no data") values need to be entered here to make data processing easier. If there are NaN values that you would like to fill in based on surrounding values, a better option might be the Fill operation. |
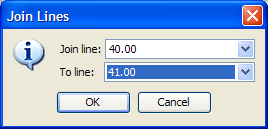
 Join Lines
Two lines can be selected and joined by clicking this button, and entering the line numbers/labels.
|
 Edit Traverse Options
Choose a function that will be done when the mouse is moved over a traverse or station (pixel):
-
Remove Traverse/Station - Remove a traverse (row) or station (entire column) by clicking on the line/station number or label to the side or top/bottom of the display area.
-
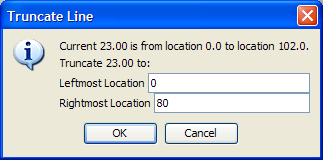
Truncate Traverse - Click on traverses (rows only) to define a start and/or ending point, and remove all readings outside this range. Enter the range in the Truncate Line Dialog as shown below.
-
Shift Traverse Left - Click on a traverse (rows only) to shift it to the left by one station for each click.
-
Shift Traverse Right - Click on a traverse (rows only) to shift it to the right by one station for each click.
-
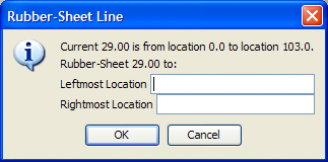
Rubber Sheet Traverse - Click on a traverse (rows only) to stretch the values from one station to another. Enter the leftmost and rightmost station numbers to define the stretch. This function is useful in cases where a line was ended in the correct location, but not enough readings were collected to make a perfect grid.
|
 Tile Editor Display
This display shows a shade of gray for each pixel or station in a tile of data. This helps make decisions about editing lines and pixel values, when needed. move the mouse over the pixels to find out the exact values and locations. The display is particularly helpful for editing Geonics EM data files.
|
 Contrast
Use this slider bar to adjust the contrast of the displayed tile.
|