|
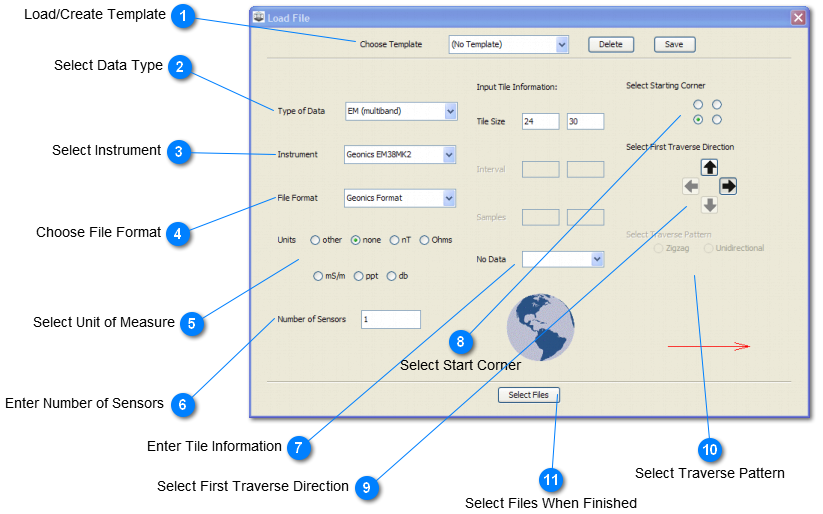
The Load File dialog is where you enter information for tiles to import into the Survey tool. This is the first step in creating a new survey, or adding tiles to an existing survey. Parameters entered here are used to load one or more files at the same time that share the same characteristics.
ALL data types are loaded from this dialog, including GPR Reflection Profiles. If a GPR file format is chosen, the user is prompted to select GPR profiles when Select Files is clicked. See GPR Loader for details.
 Load/Create Template
A template, if previously created, can be loaded here from the drop-down menu. Templates contain all of the information entered in this dialogue for faster loading. To create a new template, complete all steps below and click the save button here. Name the template and click ok. templates can also be selected and deleted using the Delete button.
|
 Select Data Type
Choose from the following data types (regardless of the file format or instrument name):
-
GPR - ground-penetrating radar
-
EM (multiband)
-
Magnetometry
-
Resistivity
-
Conductivity
-
Magnetic Susceptibility
-
Other
|
 Select Instrument
Options for instruments is unique for the selected data type (above).
-
If GPR, options are various models of GSSI and Sensors and Software instruments, or "other."
-
If EM (multiband), options are selected models of Geonics and GSSI EM sensors that are capable of collecting multiple datasets at one time (each dataset will be imported as a band in a multiband survey), or "other".
-
If Magnetometry, options are models of Bartington, Geometrics, and Geoscan, or "other."
-
If Resistivity, options are models of Geoscan and TRCIA, or "other"
-
If Conductivity or Magnetic Susceptibility, options are three different Geonics instruments that collect one type of data at a time (conductivity or magnetic susceptibility
|
 Choose File Format
File Format is independent of the type of data and instrument selected above. This means you can have data originally collected with a Bartington instrument, for example, but import it in Surfer, or some other format.
Choose from the following file formats:
-
Geonics (raw and "converted" files created with DAT programs are accepted)
-
Geoplot (this is really Geoscan format, and requires the original grid files from a Geoscan instrument)
-
Bartington (all delimiters and file extensions that can be chosen during download)
-
TRCIA (files downloaded from the resistivity meter made by the Council for Independent Archaeology, which is no longer available)
-
Geometrics - files from the G-858 and similar instruments
-
GSSI - Geophysical Survey Systems Inc. GPR and EM files
-
S&S - Sensors and Software GPR files
-
Surfer 6 binary grid - the older format for survey binary grids
-
Surfer 7 binary grid - similar to Surfer 6, but slightly different
-
Surfer ASCII grid
-
TIFF image
-
XYZ ASCII
-
Z Only ASCII
-
Spreadsheet ASCII
|
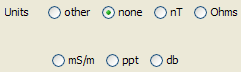
 Select Unit of Measure
Select the units of measure used for the type of data. For example, magnetometers usually collect data in nanoTesla. This parameter is usually automatically selected based on the type of data chosen. For multiband EM data, the units are different for each band so no units are chosen here.
|
 Enter Number of Sensors
At this time the only case where more than 1 sensor should be entered is for the Bartington Grad601-2, and the parameter will automatically be changed when this sensor is chosen.
|
 Enter Tile Information
Tile size, interval, and samples can be entered with X in the left column and Y in the right. Some or all of these will be greyed out depending on the file format selected. If not grayed out, enter the following:
-
Interval: enter the sampling interval used in X and Y in meters. For example, if a survey was collected with 4 samples per meter in the survey direction and one half meter between transects (transects go left to right), enter .25 and .5 in these boxes..This will be used in combination with the tile size to compute sampling density.
OR
-
No Data: select or enter the no data value used for the file type you have chosen. In many cases this value is chosen automatically based on the type of file chosen. If not, it can be left blank (no values will be flagged as no data), you can enter a value, or select from some of the common values available. No data values are called NaN, for "Not a Number" in ArchaeoFusion.
|
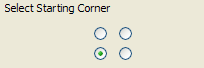
 Select Start Corner
Select the starting corner for data collection, or for the file type. In some cases files are converted to a standard start corner and direction when downloaded with the native software or download utility, so be sure to check this. If this is entered incorrectly, they can be corrected in the Survey Tool using the rotate and flip tile tools while viewing the data.
|
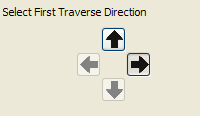
 Select First Traverse Direction
Select the direction in which the first traverse was traveled during data collection. As with the start corner, there are some cases where the traverse direction is converted when data are downloaded with the native software or download utility, so check this first. If this is entered incorrectly, they can be corrected in the Survey Tool using the rotate and flip tile tools while viewing the data.
|
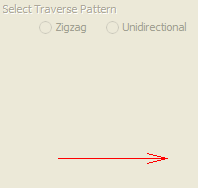
 Select Traverse Pattern
If this option is available, select zigzag or unidirectional for the mode of survey. Depending on the file type, red and blue arrows will illustrate the parameters you have entered for start corner, traverse direction, and traverse pattern. If the wrong traverse pattern is entered here, it can be corrected in the Tile Editor using the change traverse pattern button. |
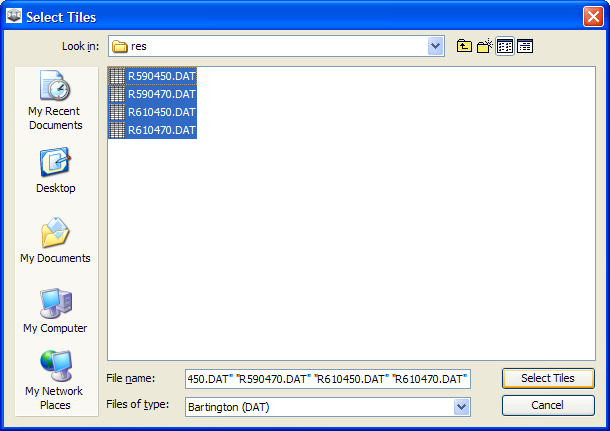
 Select Files When Finished
When all parameters have been entered and a template has been saved (if desired), click Select Files. This will open a browsing dialog where you can select the file or files to import, then click "Select Tiles." The tiles should appear in the Tiles List and can be dragged into the Assembler. |
|
|